使用 node-ssh 实现自动化部署
自动化部署的方式有很多,之前我介绍过两种方法,今天我将和大家分享如何在不依赖 Jenkins、GitLab CI/CD 和 GitHub Actions 的情况下,通过 Node.js 自己实现自动化部署。
node-ssh
我们主要依赖一个名为 node-ssh 的工具,它是一个用于通过 SSH 协议远程执行命令、传输文件的 Node.js 库。基于 ssh2,node-ssh 提供了更高级别的接口,让我们在 Node.js 中使用 SSH 变得更加简单。
接下来通过一些示例介绍它的基本用法。
首先,安装依赖,如果项目使用了 TypeScript,还需要安装类型文件:
pnpm add node-ssh
# TypeScript
pnpm add @types/node-ssh
安装完成后,就可以通过 node-ssh 和服务器建立连接:
import { NodeSSH } from "node-ssh";
import { deployConfig } from "./config.js";

async function deploy() {
  const ssh = new NodeSSH();

  await ssh.connect(deployConfig);
  const result = await ssh.execCommand("ls");
}

deploy();
在上面的代码中,我们通过 new NodeSSH 创建了一个 SSH 实例,并使用 connect 方法连接到服务器。
deployConfig 的内容如下:
export const deployConfig = {
  host: '服务器ip地址',
  username: '用户名',
  password: '服务器密码',
};
到这一步,我们已经成功与服务器建立连接,现在可以通过这个连接执行服务器上的命令。
import { NodeSSH } from "node-ssh";
import { deployConfig } from "./config.js";

async function deploy() {
  const ssh = new NodeSSH();

  await ssh.connect(deployConfig);
  const result = await ssh.execCommand("ls");
  console.log(`result.stdout ==> ${result.stdout}`);
  console.log(`result.stderr ==> ${result.stderr}`);
  ssh.dispose();
}

deploy();
我们使用 execCommand 执行了一个 ls 命令,查看服务器上的目录。结果会显示在 stdout(标准输出)中,若命令执行失败,则错误信息会显示在 stderr 中。执行结果如下:
result.stdout ==> (服务器上的目录结构)
result.stderr ==>
成功连接服务器后,使用 dispose 断开连接,以免浪费资源。
自动化部署:上传文件
自动化部署的关键是 putDirectory 方法,它可以将本地目录上传到服务器上的指定位置。
例如,我们的项目结构如下:
.
├── README.md
├── dist
├── index.html
├── node_modules
├── package.json
├── pnpm-lock.yaml
├── public
├── scripts
├── src
├── tsconfig.app.json
├── tsconfig.json
├── tsconfig.node.json
└── vite.config.ts
我们要将 dist 目录上传到服务器上的 home 目录下:
import { NodeSSH } from "node-ssh";
import { deployConfig } from "./config.js";
import path from "path";

async function deploy() {
  const ssh = new NodeSSH();

  await ssh.connect(deployConfig);

  const result = await ssh.putDirectory(path.resolve("./dist"), "dist");
  console.log(result);
  ssh.dispose();
}

deploy();
执行后,终端会打印上传结果,验证上传是否成功。
实现完整的自动化部署流程
我们将实现一个完整的自动化部署流程,包含备份和上传操作:
import { NodeSSH } from "node-ssh";
import { deployConfig } from "./config.js";
import path from "path";

async function deploy() {
  const ssh = new NodeSSH();

  await ssh.connect(deployConfig);

  const result = await ssh.execCommand("ls", {
    cwd: "var/www",
  });
  const isHasBackup = result.stdout.includes("dist.bak");
  if (isHasBackup) {
    await ssh.execCommand("rm -rf dist.bak", {
      cwd: "var/www",
    });
  }
  await ssh.execCommand("mv dist dist.bak", {
    cwd: "var/www",
  });

  await ssh.putDirectory(path.resolve("./dist"), "var/www/dist");
  ssh.dispose();
}

deploy();
该代码会先检查服务器上是否有备份文件,若有则删除,然后备份当前项目资源,接着上传新版本。
修改 Nginx 配置
上传完成后,我们需要修改 Nginx 配置文件。通常在 CentOS 系统下,Nginx 配置文件位于 /etc/nginx/nginx.conf。在配置文件中添加一个新的 server:
server {
listen 10087;
allow all;
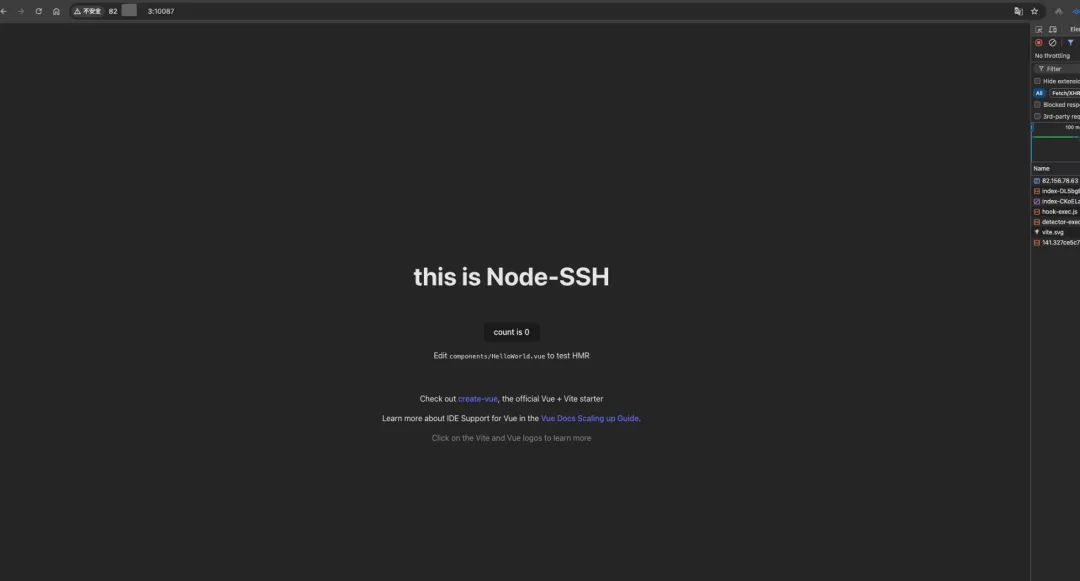
server_name 82.156.78.63;
root /root/var/www/dist;
index index.html;
location / {
try_files $uri $uri/ /index.html;
index index.html;
}
}
若使用云服务器,记得在安全组中开放对应的端口。
在浏览器中可以查看部署结果。如果需要发布新的版本,调用 deploy 方法即可,简单方便。